HaxePunk is the 2D game library that I make most of my games in. Unfortunately, it's no longer maintained, and its website is no longer available. Despite that, I've continued to use it because I find it the simplest and most pleasant to use of the many frameworks I've tried (e.g. MonoGame, Love2D, HaxeFlixel, and others). Being able to export to both HTML5 and desktop from the same codebase is also a huge boon.
If you enjoy a pure code approach to game development and want a "batteries included" framework that can handle animation, sound, gamepad input, tweening, and more - but isn't overly prescriptive or bloated - I recommend checking out HaxePunk.
I've written this guide to help anyone who's interested in HaxePunk get a small template project I've made up and running from scratch. Just follow these steps.
First, install the lastest version of Haxe from here. The default installation is fine (Haxe + Neko).
In a terminal, run the following commands:
haxelib install openfl
haxelib install lime
This installs HaxePunk's dependencies. At the time I wrote this, these versions were OpenFL 9.5.1 and Lime 8.3.1.
Download and unzip my updated version of HaxePunk to a folder of your choice (or clone using git).
In a terminal, navigate to the folder where the HaxePunkUpdated folder is located and run the following command:
haxelib dev HaxePunk HaxePunkUpdated
This tells haxelib to use the HaxePunkUpdated folder as our version of HaxePunk.
Now, download and unzip my template project to a folder of your choice.
In a terminal, navigate inside the haxepunk_template folder and run the following command:
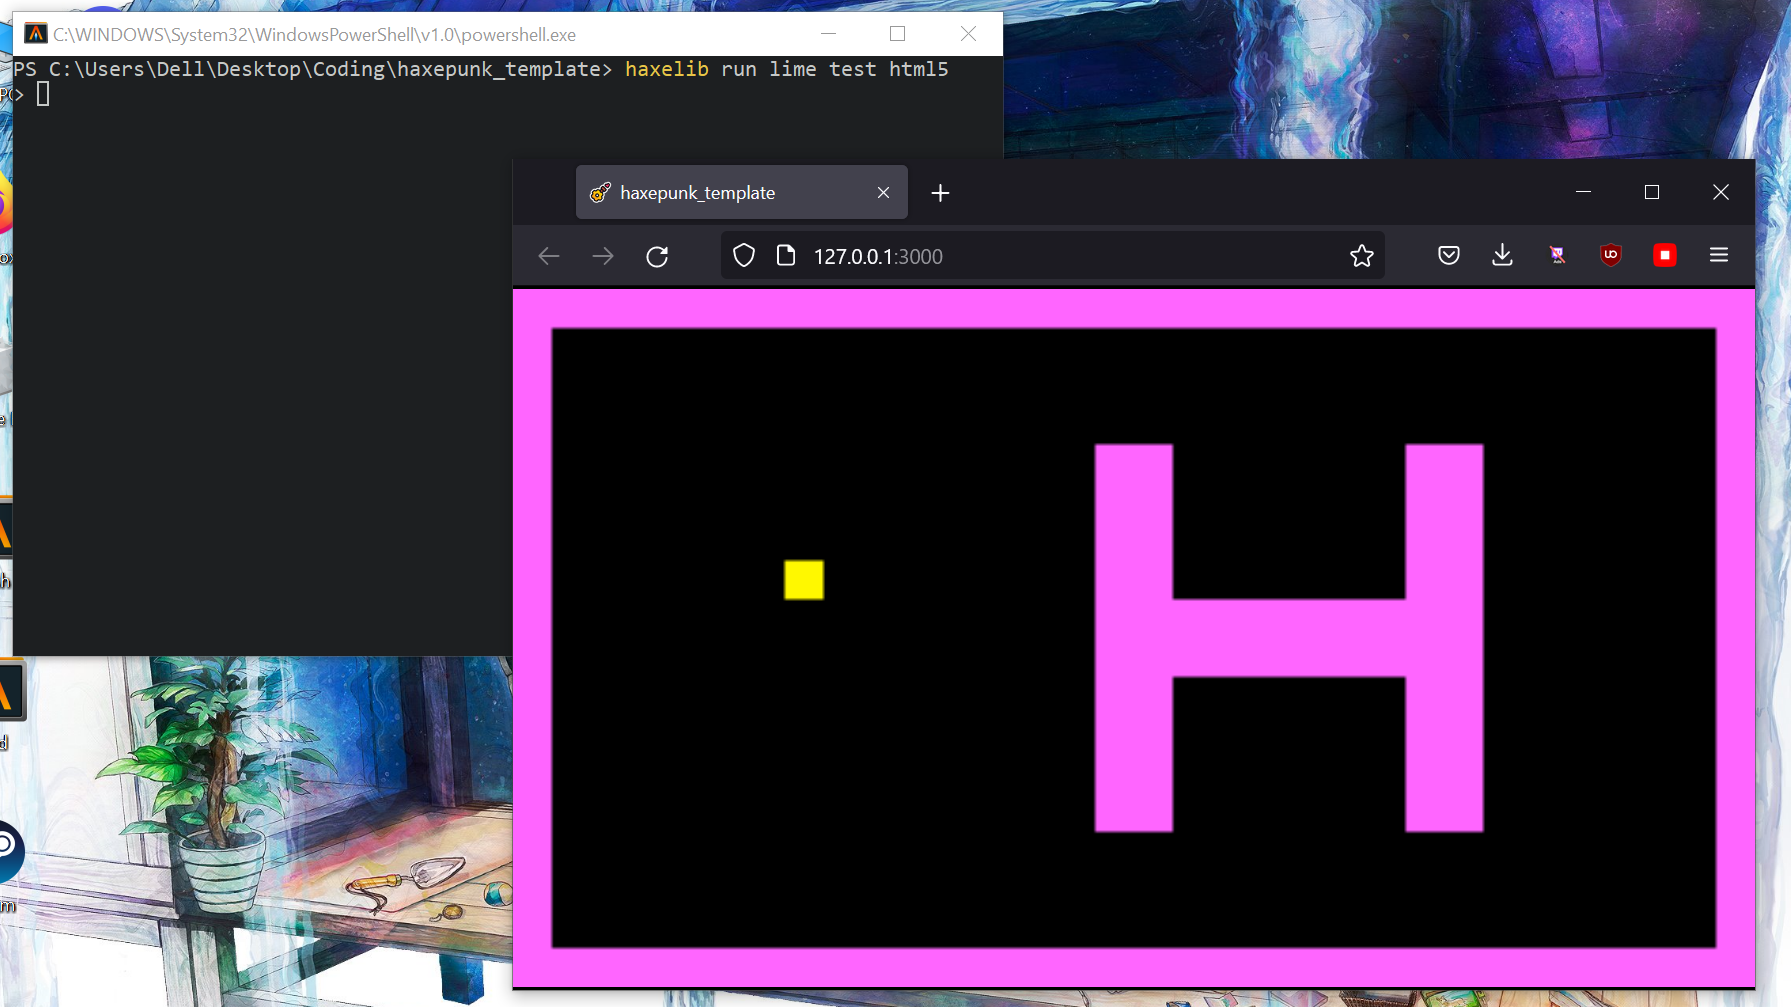
haxelib run lime test html5
This should open the template project in a browser window. You can use WASD or the arrow keys to move the yellow square around and collide with the pink tiles.
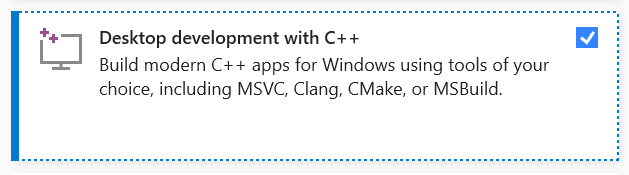
If you want to make native builds for Windows, you need to install Visual Studio. Download the Commmunity Edition here. Choose the workload named "Desktop development with C++" in the installer (you can uncheck the Copilot stuff on the right if you want).
Restart your computer when it's done installing.
You'll also need to install hxcpp by running the following command in a terminal:
haxelib install hxcpp
Once you've done this, you can build and run projects using the following command:
haxelib run lime test windows
This will take a long time the first time you run it.
You can also make native builds for Mac and Linux using these commands (assuming you're running those operating systems):
haxelib run lime test mac
haxelib run lime test linux
It may complain about some missing dependencies for these targets (e.g., hamcrest or munit). Go ahead and install those using haxelib install if that happens, and then run the build command again.
Another useful build target is HashLink, Haxe's virtual machine. HashLink builds compile faster than native builds, and are more performant than HTML5, so it's a very useful way to test your game during development. To target HashLink, simply install it from the download page, and then use this commmand:
haxelib run lime test hl
That's it for setup. Here's the briefest of overviews of how HaxePunk works:
- It's a standard inheritance-based, object-oriented engine.
- You have Scenes which contain Entities you add and remove to them.
- The current scene updates 60 times a second by calling the update method of every entity in it. Don't forget to call super.update() in each entity's update() method when you override it.
- Entities have a Graphic and a collision Mask. You won't use these classes directly, but one of their child classes like Spritemap and Hitbox.
- Use the Input class to handle keyboard and gamepad input (see Main.hx in the template project for an example).
- Use the Sfx class to handle audio.
- Use the Tween class to handle tweens. Don't forget to add the tween to the entity or scene you create it in, or it won't work. Like Graphic and Mask, you won't use this class directly, only its child classes.
- HXP is the "God class" where the current scene can be found and set, alongside a bunch of other important and useful variables and functions.
- MathUtil is a helper class with a bunch of handy functions.
To learn more, check out the API and the archived documentation pages. You can also poke around the code for the template project, or the code for my boss rush game template for an example of a more complete project. Note that the level editor used in the template project is Ogmo Editor, which you can download here.
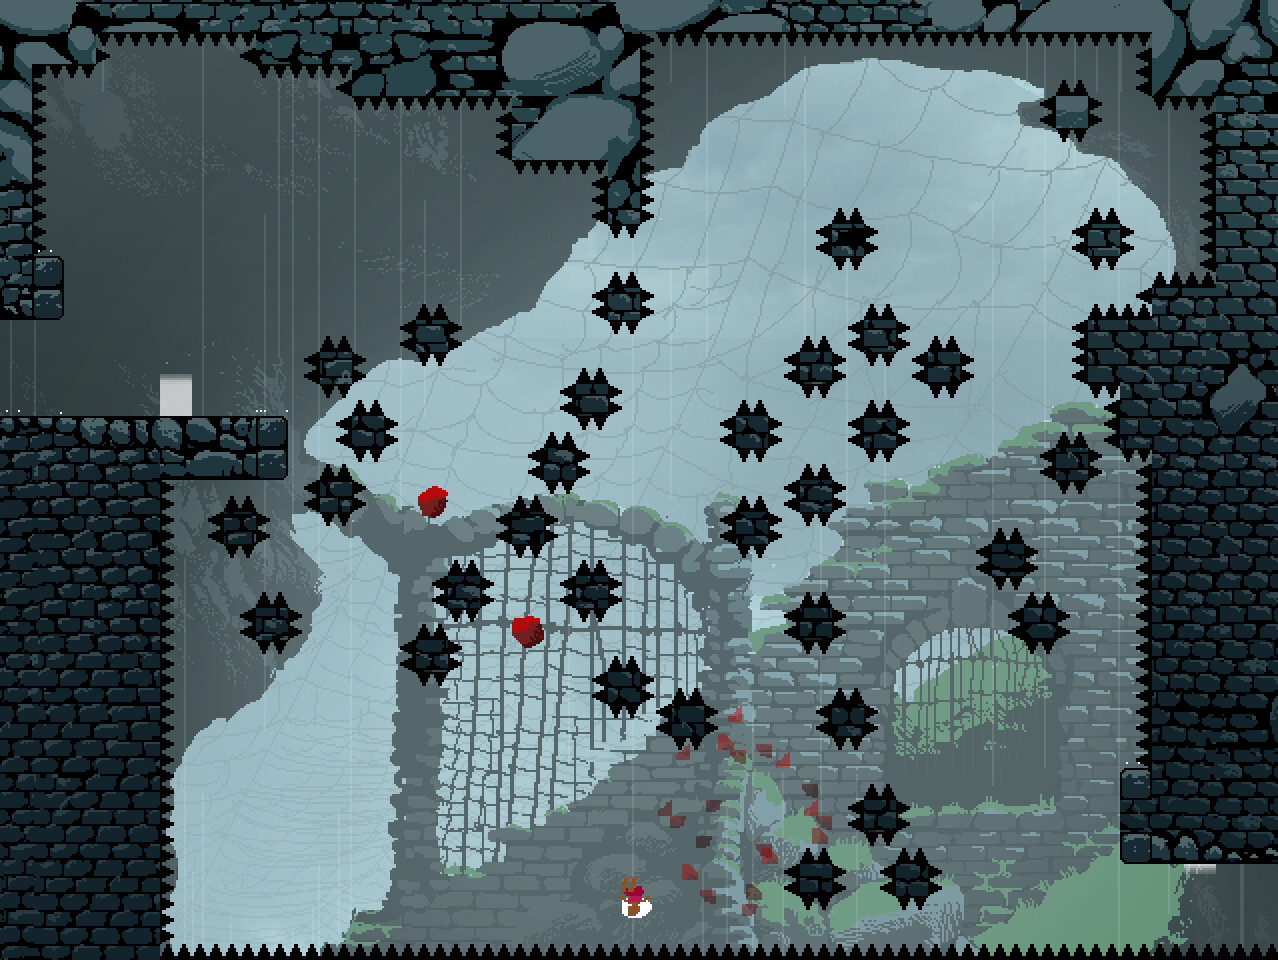
HaxePunk is very simple, but really powerful. I used it to make my commercial title LOVE ETERNAL (pictured above), and I'm amazed at the stuff I was able to pull off with it. Its fast - I've never really had to worry about performance in native builds. The API is very slim, and you can memorize most of it pretty quickly. Once you get a little proficient, you can throw together games incredibly quickly, and it's hands down the most fun I have coding games. I personally consider it to be the platonic ideal of a playful, expressive, and deep game-making tool. Check it out if you're curious.